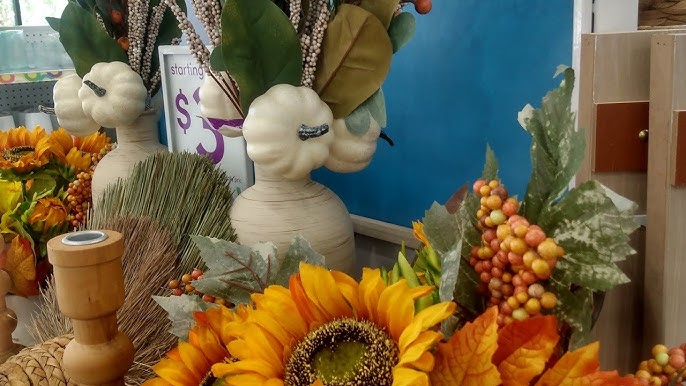
Ice Cream Cone Pumpkin Decorating
If you’re looking for a creative and delicious way to decorate your pumpkins this fall, you’ve come to the right place! In this article, we’ll explore the wonderful world of ice cream cone pumpkin decorating.
Getting Started with Ice Cream Cone Pumpkin Decorating
Before we dive into the nitty-gritty of decorating, let’s start with the basics. You’ll need a few simple supplies:
- Ice cream cones (preferably sturdy ones to support your pumpkin)
- Pumpkins of various sizes and shapes
- Decorations of your choice (markers, stickers, glitter, etc.)
- A surface to work on (table, countertop, or even a large plate)
Tips for Preparing Your Pumpkins
Before you start decorating, make sure your pumpkins are clean and dry. You can also lightly spray them with water to help the decorations adhere better.
If you’re using real ice cream cones (as opposed to fake ones), be prepared to get a little messy! The sticky residue from the cone may transfer to your pumpkin or work surface, so have some paper towels handy for cleanup.
Basic Decorating Techniques
Now that we’ve got our supplies and pumpkins ready, let’s talk about basic decorating techniques. Here are a few popular methods:
- Magic Marker Masterpiece: Use permanent markers to draw on your pumpkin. You can create simple designs or intricate patterns.
- Sticker Fun: Apply stickers to your pumpkin for a colorful, easy-peasy design.
- Glittering Good Time: Sprinkle glitter or sparkly decorations onto your pumpkin for a touch of magic.
Add Some Texture with Toppings
If you want to add some extra texture and visual interest to your design, consider using toppings like:
- Faux leaves (artificial or natural)
- Small twigs or branches
- Beads or sequins for added sparkle
Advanced Decorating Techniques: Layering and Dimensionality
Want to take your decorating skills to the next level? Try layering different materials and textures:
- Layered Look: Use multiple markers or colored pencils to create a multi-dimensional design.
- Tear-ific Texture: Apply torn paper, fabric scraps, or even old book pages to your pumpkin for an eclectic look.
Make it Your Own: Adding Personal Touches
The beauty of ice cream cone pumpkin decorating lies in its creativity and personal touch. Don’t be afraid to experiment and try new things:
- Add a Face: Use markers or paint to create a friendly face on your pumpkin.
- Incorporate Symbols: Add meaningful symbols, like stars for wishes or hearts for love.
And that’s it! With these basic and advanced decorating techniques, you’ll be well on your way to creating unique and eye-catching ice cream cone pumpkins. Don’t forget to share your masterpieces with friends and family – or better yet, start a pumpkin decorating party!
Want more fall fun? Check out our articles on:
Happy decorating, and don’t forget to get creative with those ice cream cones!